From Raster to Vector. Lines.
The title might be a bit confusing, but, trust me, once you see the pictures you’ll understand. Basically, this is a short tutorial on how to convert a raster image into a vector one using one color rendering. Only this time, instead of using halftones, we are going to use a more controlled method, using straight and diagonal lines.
This method has as main advantage the control you have over the final rendering, although it takes a little more time than a normal halftone conversion.
What you need: a high-res image of the image you need converted (as opposed to the halftone method, where it doesn’t really matter what size the picture is, it’s better to have an image with a decent resolution and a good contrast between shades), Adobe Photoshop and Illustrator.
We’ll start by preparing our tools for the job. In PS, do a 3X3 pixels new image (depending on the size of the lines you will have in the final image, multiply this size- this will get you a line with a one pixel weight). Because my image is low-res, as opposed to what I recommend, we will do the lines really thin, at 1 px. Now, zoom in to the max, select your brush tool and switch it to pencil tool. Select 1px for diameter. Now draw a horizontal line in the middle, like this.

Now, go to Edit and select Define Pattern. Name it as you want and hit ok.
Let’s move on, now we erase our line and draw a vertical one, straight to the middle of the image, like before.

Again, save the new pattern and now you have two custom patterns. Let’s make a third one. Using the same method, get yourself a diagonal line pattern.

Good, we are done with the tools. Now, on to the actual use of lines for a future vector rendering!
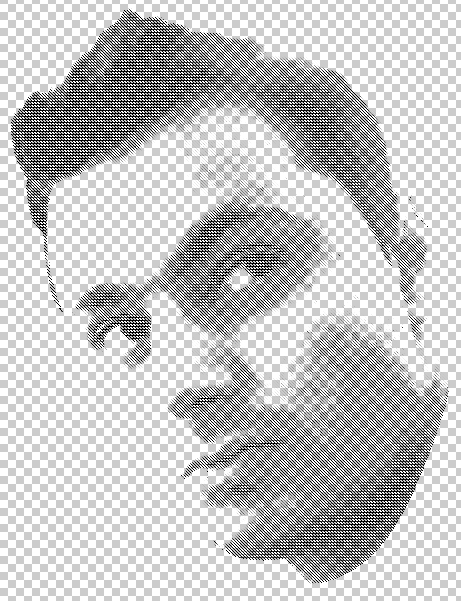
Get you image nice and using your method of choice, cut out the part you will use for your vector design (for details on this process, you can read this post). Yes, it’s my ugly mug. I am so uninspired today, right? Now, convert it to grayscale. You should have something like this (note this is the actual resolution of the piece, yes, practice what I preach).

Now, use the magic of Levels (Ctrl+L) to improve the contrast of the image. Make it look kind of like this:

Now, create a new layer above this grayscale one. Only leave the layer with the image visible (so, do click the icon that looks like an eye next to the background layers).
Now, the important stuff happens, so pay attention! Go to Select menu and choose Color Range. Then, select the shadows option.

Now, go to Edit and select Fill. In the box that opens, we choose Pattern and we see that now we can use the patterns we saved. Select one of them (I picked the diagonal one) and press ok.

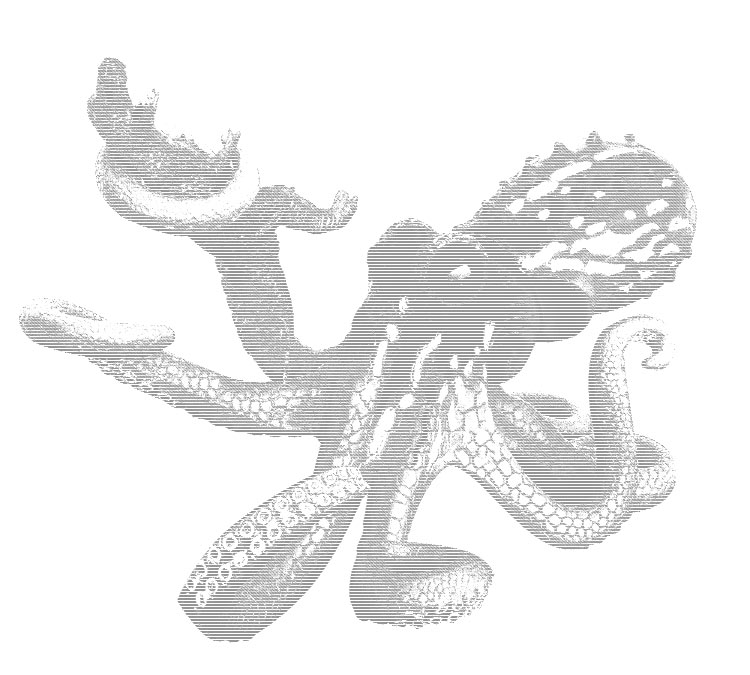
Now, if you leave only the layer that we filled with the diagonal lines, we should have something like this!

I am sure you can see what’s coming next. Yes, we should select the layer with the picture again (that layer only), create a new layer and again, going to the select menu we choose Sampled Color now (with black as the foreground color, as seen here).

After that, fill the selection with the horizontal line pattern, and get this:

Well, I am happy with the overall look of the image rendering, it’s not too clustered (sure, you can repeat the process in some cases until you get something that you like, experimenting with more patterns and selections.)
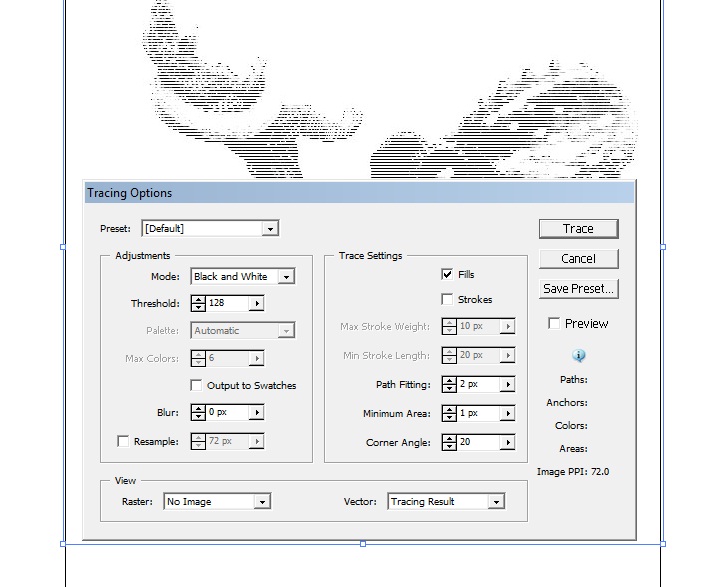
Buuuut, it’s not over until you can actually use this for a design. So, converting it to vectors is more than useful, right? So, take these two layers and go to AI and paste them in a new document- one at a time. It’s Live Trace time.
This is how our diagonals look like when converted into vectors. Please note that for Min Area is 0 for best results, and you can play with the Threshold, but don’t go over 150.
Now, expand our vector lines, and delete the white, as I explained here. It’s time to paste the other layer and apply the same method on it. Now, align it with the previous one, and you should get something like this:
I cannot stress enough the importance of having a high res raster image and using maybe a 30 pixels wide line pattern in order to improve the results of the live trace.
Hope this helps, even a little! Please do experiment and share with us your results!
Great tutorial ! thanks Liviu!
a lot of good points
This looks like some great info. The image links within the tutorial seem to be broken? May be a bad on my end…?
Have you ever considered about contributing on additional sites? You might some great content right here and I’m sure you can share good deal more if you wrote some content throughout other internet sites. You can uncover plenty of associated web sites to check out. Only one thing to take into account. I’m glad I know about it at least.
Spiegazioni molto chiare, grazie!
great post….But rastertovector.biz also specialized to convert the raster to vector including 300 different vector image formats such as IMG, JPEG, PCX, PDF, PICT, GIF, and TIFF.